Walkthrough Guide for Immortal Unchained, providing in-depth steps to successfully clearing the game. Players may also refer to the overview page Game Progress Route, or consult individual Locations, Maps and Bosses pages.
This Walkthrough navigates the player through a complete 100% playthrough, expecting all items and quests will be picked up or unlocked as possible.
Immortal Unchained Walkthrough
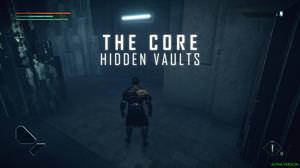
Hidden Vaults is a Location in Immortal Unchained. Hidden Vaults is the prison the player begins the game in on The Core.

General Information

- Previous: n/a
- Next: Grand Hall
- Recommended Levels: Any
- Bosses: Housecarl Invader
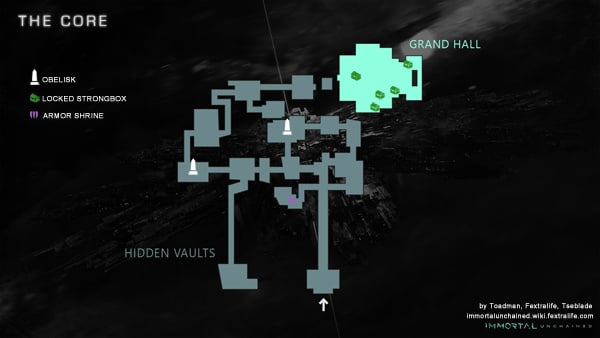
- Obelisks: 2
Video Walkthrough
Hidden Vaults Map
NPCs in the area
- None
Bosses
Items
Consumables
- 6x Basic Component
- 3x Bit Capsule, Tiny
- 1x Bit Capsule, Small
- 6x Small Energy Potion
- 2x Cold Patch
- 1x Heat Patch
- 4x Small Ammo Pack
- 1x Advanced Scavenger Kit
- 1x Combined Patch
- 2x TRM Syringe
Weapons, Spells & Armor
- Common Primary Gun
(Class Dependent) - Common Melee Weapon
(Class Dependent) - Prison Guard Pistol
- Ranger's Pistol
- Veridian Shotgun
Keys & Other
Enemies
- Basic Enemies
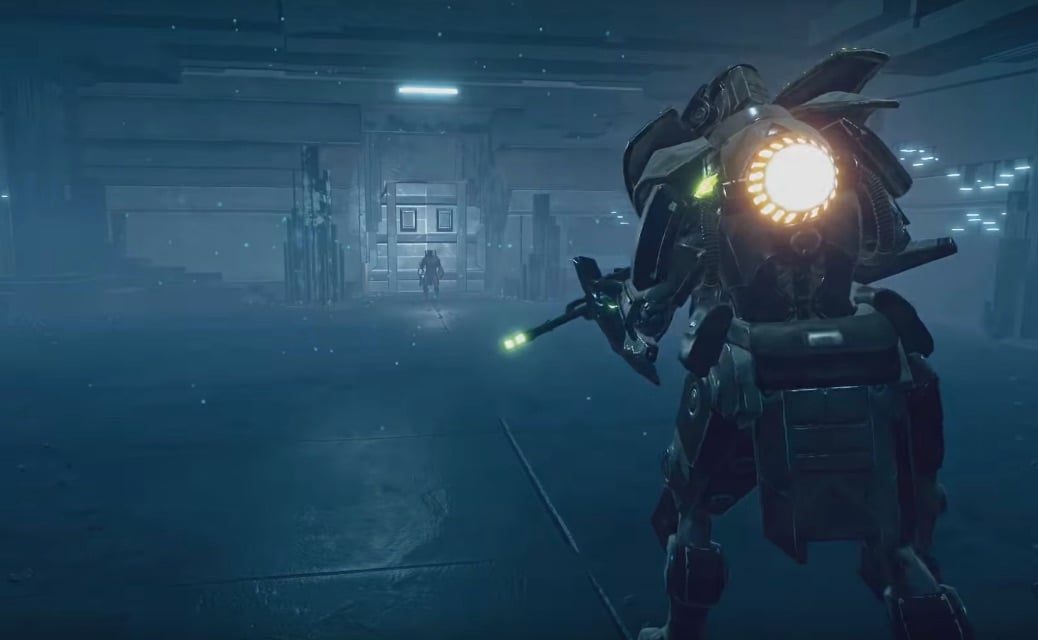
- Frost Knight
Full Hidden Vaults Walkthrough
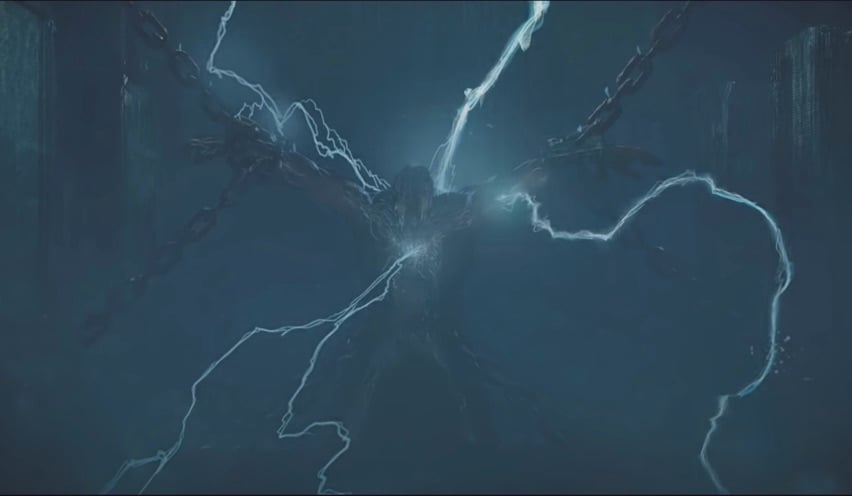
After the character customization and the introductory cinematic, you'll find your character chained in the middle of an empty room. The game beings when you break free from your shackles, and let out a triumphant roar.

Search for the Obelisk
Once you assume control of your character, head straight forward and let the doors open as you continue. Shortly after, a short cutscene will take place, showing a bridge extending out to allow you to proceed across, and a man on the other side. As you proceed, the man will start walking away and will disappear around the corner. When you arrive here, follow the path around. This area is your tutorial level and will teach you the basics of the game; every so often, you'll be prompted with an instruction to a different control you were unable to use prior. The first command that pops up is to DODGE, which you'll test by using it to roll under the lasers ahead.
This will bring you to a room with a corridor on the right. Just before entering the corridor, loot the small strongbox for a 1x Bit Capsule, Tiny, and 1x Small Energy Potion. As you head through the corridor, pick up the 100 Forgotten Bits (FB) at the beginning. At the end, find a Small Strongbox on your left containing 1x Cold Patch, and 1x Heat Patch. Here you will also find your first Obelisk of the game; this is the Immortal Unchained equivalent of a Bonfire in Dark Souls, where you can make saves and upgrades. Next to it, you'll find a Strongbox containing a Prison Guard Pistol, 1x Small Ammo Pack, and 1x Small Energy Potion. You'll also find a body holding 100 FB.
Return to the Obelisk
Head right from the Obelisk, to find your first enemy of the game. Approaching it will prompt the instructions on how to AIM, and FIRE. Enter the next room to learn how to RELOAD. Head right to find two more enemies to test your skills on. Here you'll find another door, a Small Strongbox containing 1x Small Ammo Pack and 1x Basic Component, and 100 FB. Proceeding into the next room will teach you how to USE CONSUMABLES. Head straight to find a Frost Knight. On the right, you can pick up 100 FB before heading up the stairs and out of this area.
When you reach the next room, you'll find a Strongbox containing a Common Primary Gun (Class Dependent), a Cerium Decree, and 1x Advanced Scavenger Kit. Pick up the 100 FB and proceed through the corridor, and down all the stairs to open the door. This brings you back to the room before the Obelisk.
The Second Obelisk
In this room, find the lever -a small pillar with a lit blue top- which is now accessible as you've picked up the Cerium Decree. Activating it will show a short cutscene of a bridge extending, which allows you to progress.
Cross the bridge and find a Small Strongbox on the right of the door just ahead, containing 1x Small Energy Potion. Proceed through the door to encounter two more basic enemies. In this room, there is a Small Strongbox containing 1x Basic Component on the right, and two FB orbs that each hold 200. From this room you have two options -it's recommended that you go through them in the order presented below:
- Head through the corridor on the left - to come across another bridge. At the end of this bridge you'll find a room with 6 basic enemies. You will also find a Memorial (lore notes). You'll also find a Large Strongbox here containing the Ranger's Pistol, 1x Basic Component, 1x Bit Capsule, Tiny, 1x Small Energy Potion. You also learn how to ACCESS INVENTORY.
- Head up the stairs - to arrive at the second Obelisk, next to which you'll find a Strongbox containing a Common Melee Weapon (Class Dependent), 1x Cold Patch, and 1x Basic Component. In between the Strongbox and the Obelisk, you'll find an FB drop of a whopping 1500 FB. Here you will also learn how to MELEE. Head right and destroy the debris to claim the 200 FB and climb the stairs.
Housecall
Atop the stairs, you learn how to CHANGE WEAPON, and will shortly after be attacked by two more basic enemies. Once dealt with, head left to find a Large Strongbox containing 1x Combined Patch, 1x Small Ammo Pack, 1x Bit Capsule, Tiny, and 1x Small Energy Potion. Head back and right this time to follow the path to a corridor, and a drop of 100 FB right in front of it. Passing through the corridors will teach you how to SPRINT. This corridor will be the first of the puzzle kind; simply time the laser sequence to avoid them, and continue through. Follow this path down until you are taught how to LOCK ONTO ENEMIES. The next room contains a total of 3 basic enemies, and a 200 FB drop on the left.
Before continuing forward, go towards the door to the right to enter a room with 2 more basic enemies, your first Mearstone: Concrete Shard and a Large Strongbox containing 1x Small Ammo Pack, 1x Small Energy Potion, 1x Basic Component and 1x TRM Syringe. You can head to the right for a shortcut to the first Obelisk.
Continue forward towards a corridor filled with dead soldiers, and a 200 FB drop. At the end of this corridor, you will be treated to another cutscene of the door in front of you opening, and revealing your first boss fight of the game.
Boss Fight: Housecarl Invader

Defeating him will grant you 1000 FB, and spawn in a Large Strongbox that contains the following:
Proceed into the next room and pull the lever to be transported up to the Grand Hall.
Hidden Vaults Video
Hidden Vaults Map
Trivia & Notes:
Weapons from this area differ depending on your starting class.
 Anonymous
 Anonymous
Hello, in the area of the obelisk called prisons immediately after the boss there is a door with stairs uphill that give on a bridge that should activate. Do you need an object to activate the bridge? A friend of mine tells me that the bridge is activated as soon as you climb the stairs, but it remains blocked to me.

 Anonymous
Need a progress route I’m in apexion , but think I should have found a key for a door in the first area ???

 Anonymous


I don't know what game they were playing but the layout did not match what I was playing
1
+10
-1